Connect AsterDex to ArbLens
Monitor balances, positions, and transaction history securely using Read-Only API access.
Open API Wallets
Log in to your AsterDex account and open Pro API → API.
Click Authorize new API wallet.
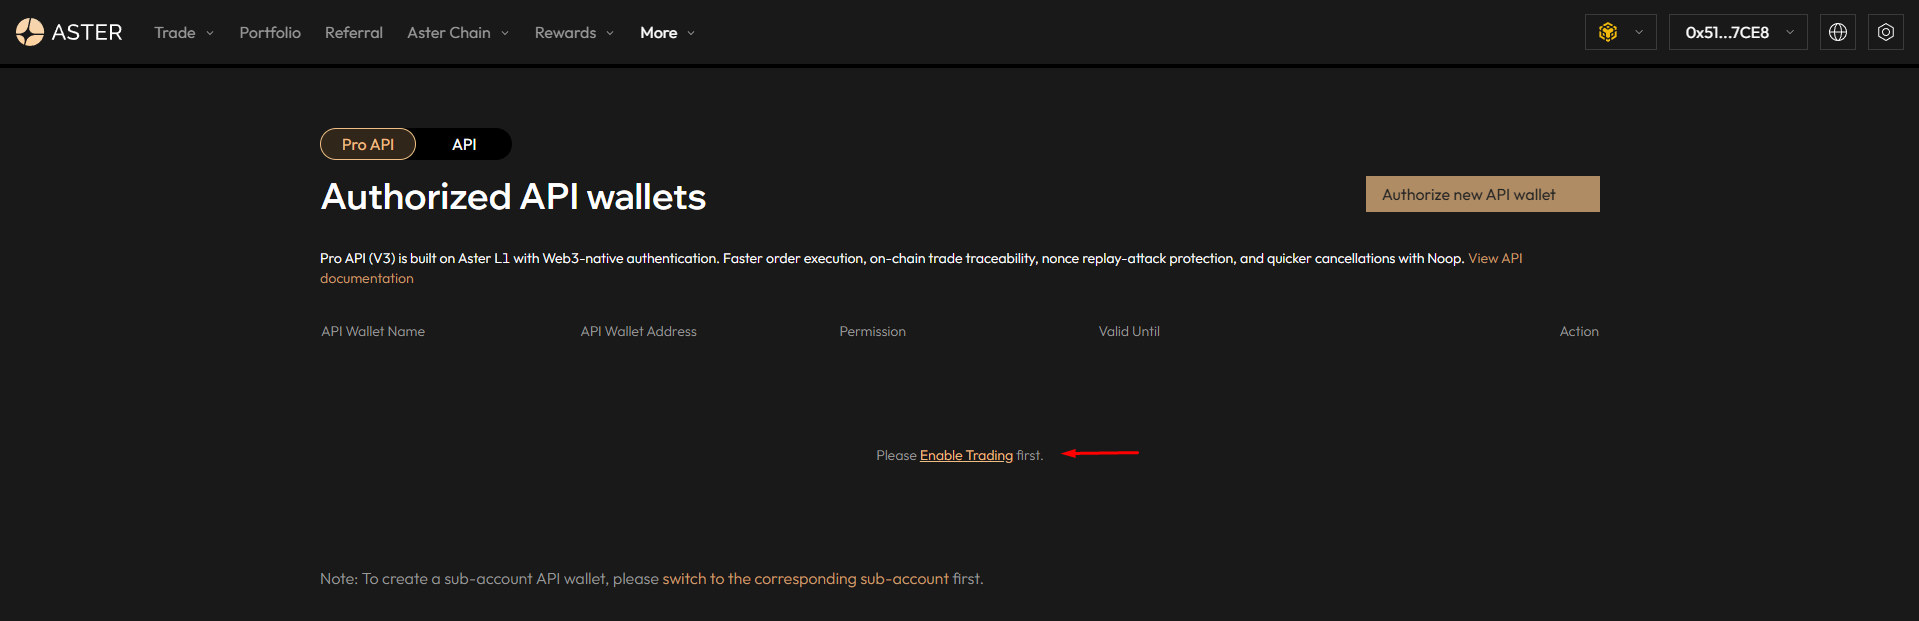
Connect Your Wallet
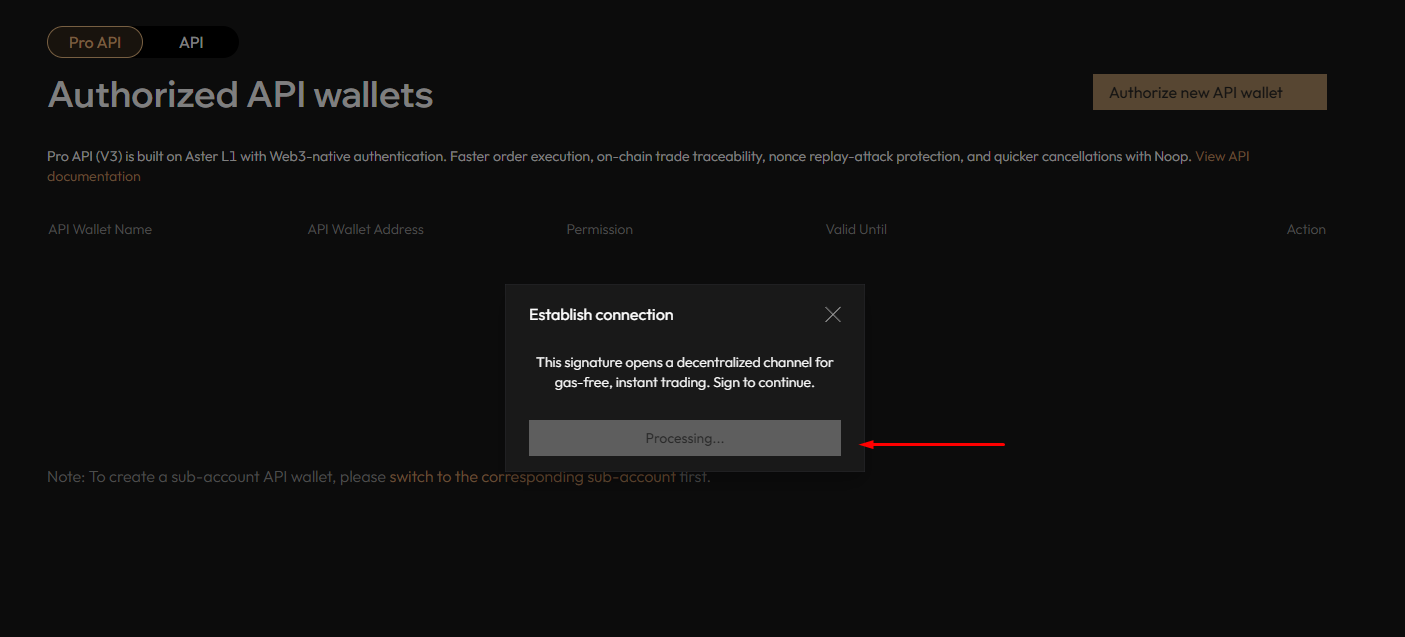
AsterDex will ask you to establish a wallet connection before continuing.
If you are connected through Binance Wallet, confirm the connection request and sign the message in Binance Wallet.
This signature only establishes the connection between your wallet and AsterDex. Review the request in Binance Wallet before signing.
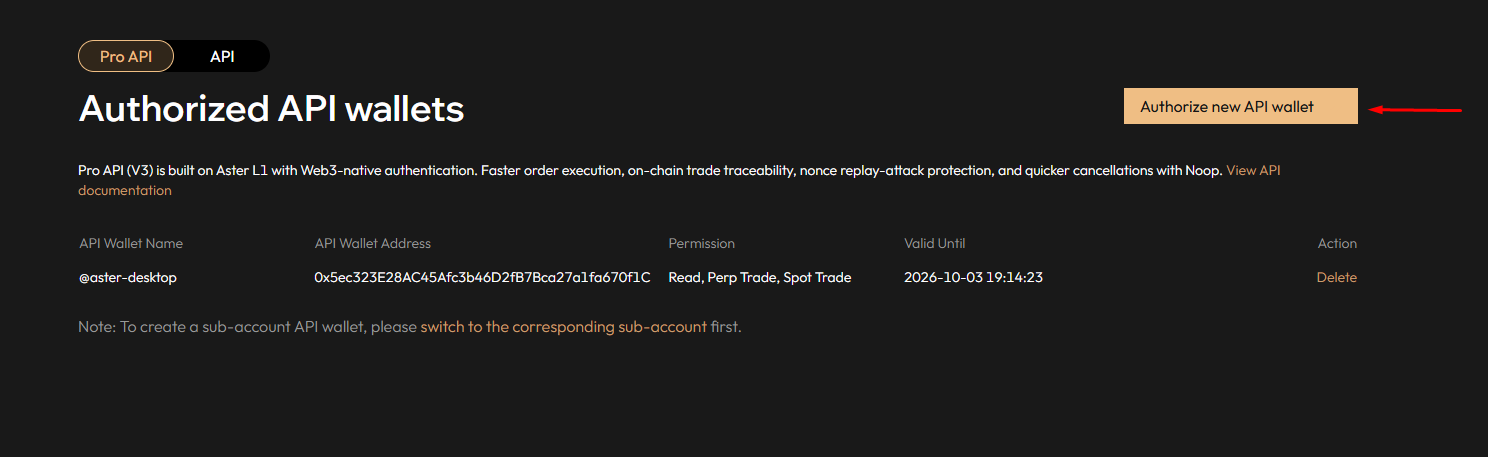
Configure the API Wallet
After the wallet connection is established, click Authorize new API wallet.
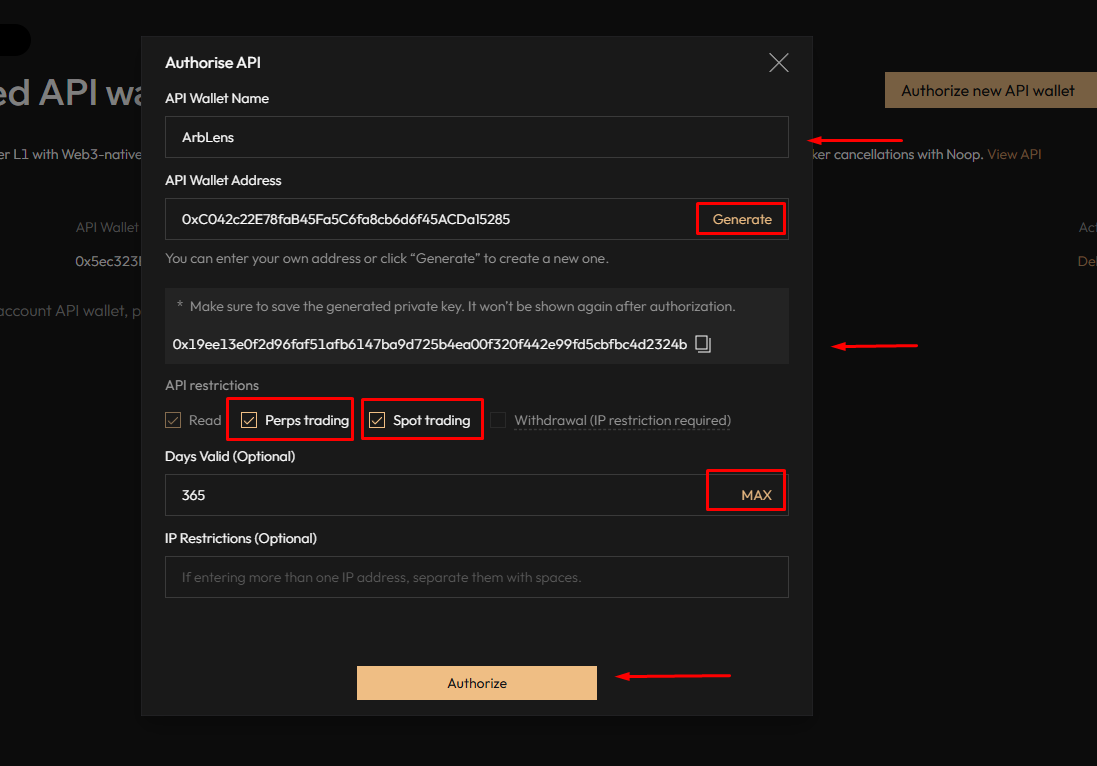
In the authorization window, fill in:
API Wallet Name: ArbLens
API Wallet Address: click Generate
Days Valid: click MAX or select the required validity period
API restrictions: enable Read only
Leave Perps trading, Spot trading, and Withdrawal disabled
IP Restrictions: optional
AsterDex will generate a private key for the API Wallet. Save it securely before authorizing — it will not be shown again after authorization.
Sign the Authorization in Binance Wallet
Click Authorize.
If you are connected through Binance Wallet, a wallet confirmation request will appear.
Open Binance Wallet and sign the authorization request.
After successful authorization, the API Wallet will appear in the Authorized API wallets list.
Make sure you are signing the request from AsterDex and that the displayed details are correct.
Connect AsterDex to ArbLens
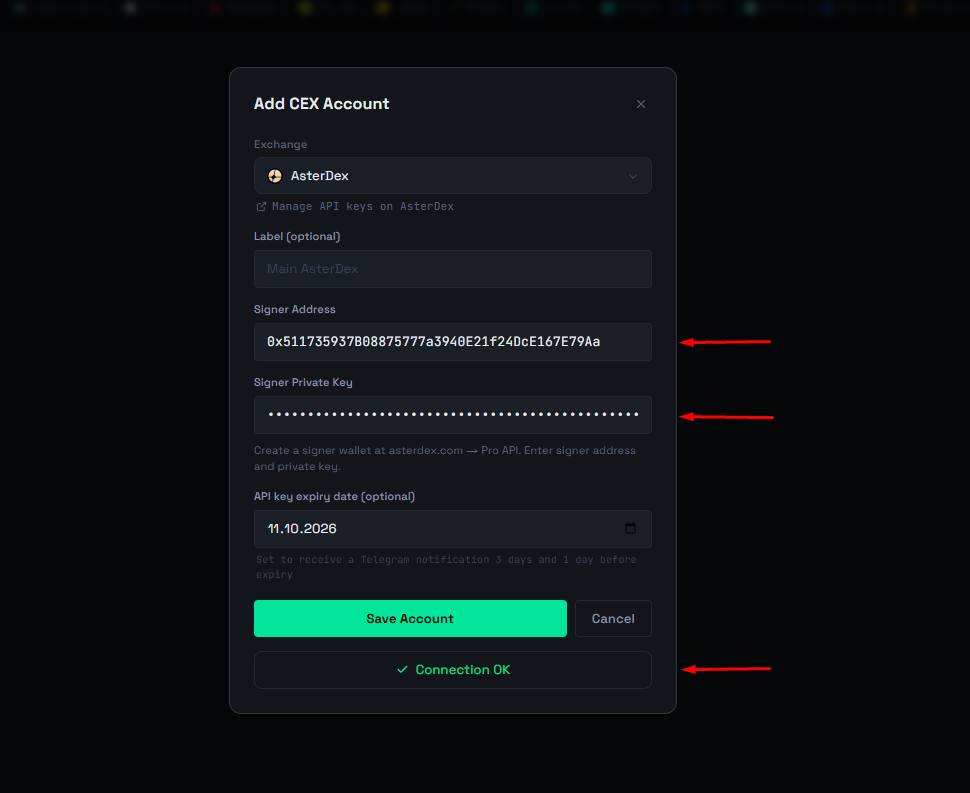
In ArbLens, open Add CEX Account and select AsterDex.
Fill in:
Label: optional, e.g. Main AsterDex
Signer Address: enter the API Wallet Address
Signer Private Key: enter the API Wallet Private Key
Click Save Account.
A successful connection will show Connection OK.
The Signer Private Key belongs to the API Wallet, not your main wallet. Never enter your main wallet's private key or seed phrase.
ArbLens uses your API credentials exclusively to retrieve account information. With Read-Only permissions, ArbLens cannot:
- Execute trades
- Place or cancel orders
- Withdraw funds
- Transfer assets
Your assets always remain under your control.